Custom exports is a great tool that allows you to export specific data on the Platform. Users can export pre-built data reports based on specific time frames and users, and they can create reports on popular data sets that Program Managers need periodically. Additionally, Program Managers are able to filter for who is included on the report and what data they want to include.
Video Walkthrough:
Downloading an Export
First, go to User Management. From there, select the filters for the users you'd like included in your export. Then, click on the download button on the top right of the user chart:
A sidebar will appear on the right, much like Notes. Select which export you'd like from the dropdown menu. System exports (the different Platform pages) will be at the top, then any user-created exports will be below them:

Once selected, you'll see the Export name, who created it, when it was created, the selected filters in your user management search (automatically imported), and the selected data sources (which pages the export is pulling data from). The data sources will show up as separate tabs on the bottom of the Excel sheets.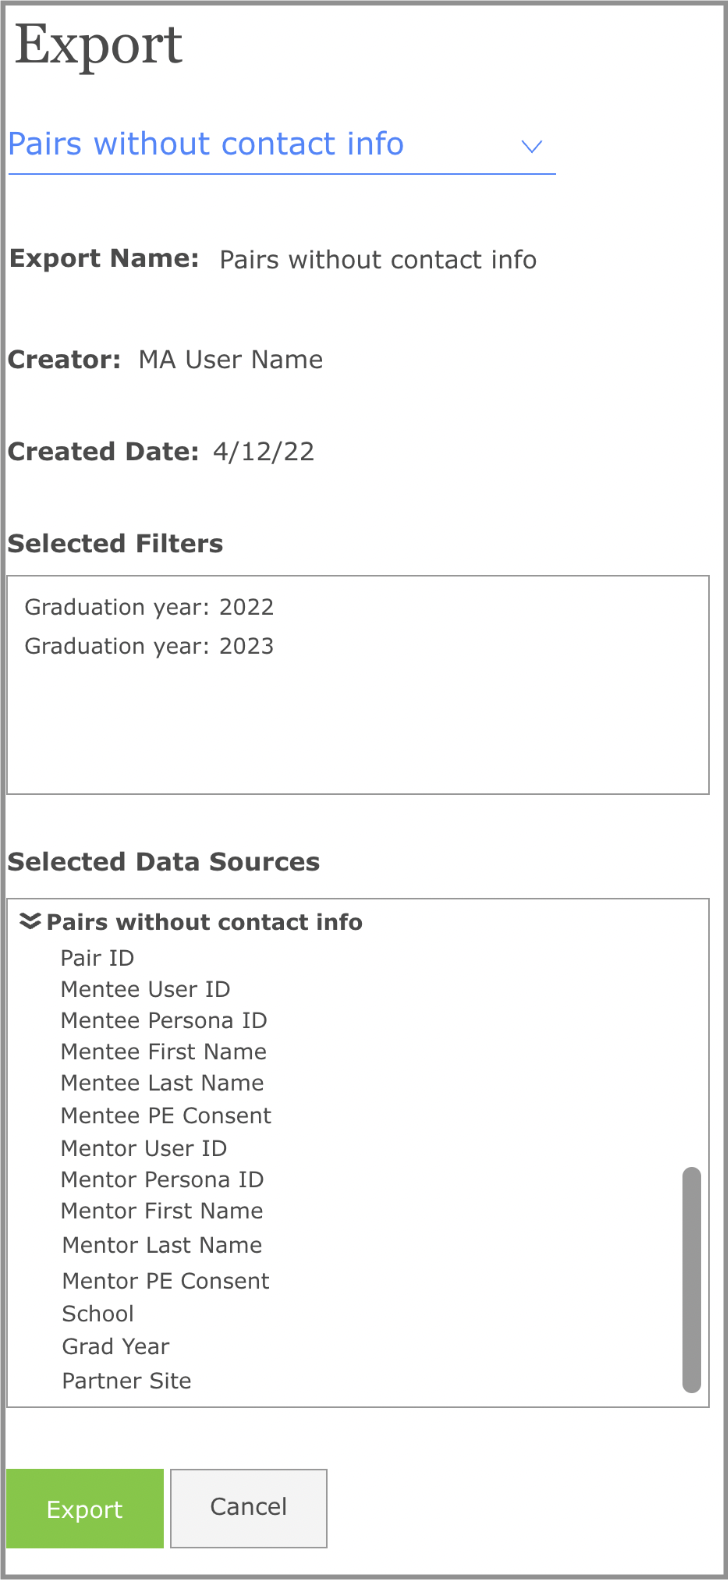
After clicking Export on the bottom, you'll get a confirmation that the export has been processed and will be sent to your email shortly.
Creating new exports
After clicking "Create New" three fields will appear:
1) Export Name - This is where you name your export
2) Selected Filters - These filters are automatically imported from the current search in User Management, and the Platform will automatically recognize if you're doing a User search or a Pair search.
3) Select Data Source - This is what page you'll be pulling the data from. So, for example, if you want data on their Meeting history, you'd select "Meetings and Events." If you wanted to see their participation in classes, you'd select "Snapshot." Etc:
After selected, clicking on the arrows next to the data source name will show you every field that will be included in the export. For example:

Once the filters and data sources (you can select multiple!) are selected and the export has a name, you can either simply Export it, or choose "Save & Export" to save it for the future.
After clicking Export, you'll get a confirmation that the export has been saved.
Selecting Existing Exports
There are 4 options for selecting exports:

My exports - View exports you've created.
Other exports - Any other reports created that may not have been shared with you.
Shared with me - Any exports that have been shared with you by other users.
System exports - Pages like Meetings and Events, Snapshot, etc.
From here, you can export, edit/delete (if it's yours), or cancel.
When editing your export, you have the option to share the export with other admins (either EMA's or MA's within your region). Click on the dropdown menu, then click the names of the admins you'd like to share it with:
Uploading Templates
We know you love your templates! You want that data to be organized and easy to read, and we've got you covered. Upload a template (.xlsx file) to a saved export to have that data automatically merged when opened. At the bottom of the page when editing an export, you'll see an "Upload Template File" button. Click that, then upload your template, and you're good to go!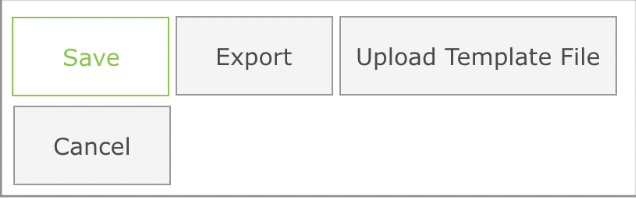

Viewing Exports
Since we're giving users more access to sensitive user data, we've added a couple extra steps to ensure our data stays safe. Once export is clicked, a link to the export will be sent to your email (whichever email you use to log in to the Platform).
The email will arrive in your inbox with a link to the download:
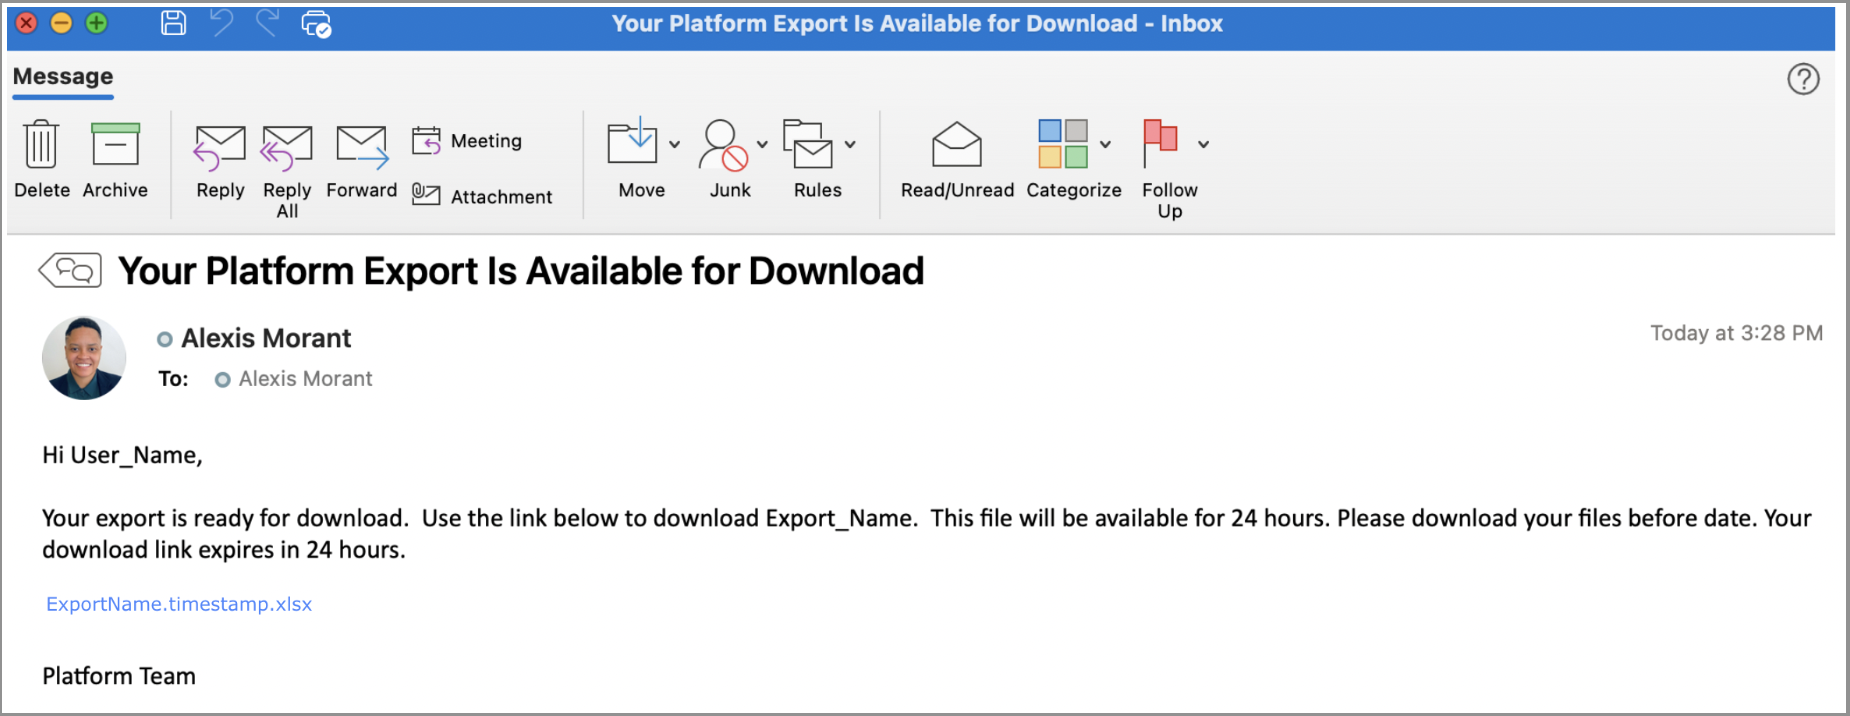
You'll have 24 hours to download the file until it expires.
Clicking the link will bring you back to the Platform (another security measure), where you'll be able to download the file:
Once opened, the file will show you all the data you selected in the export (each data source will be separated by tabs on the bottom of the sheet).
Questions?
We're here to help! Please either reach out to [email protected].