Automatic Tasks
There are two kinds of tasks and announcements - some of which you can schedule, and some of which happen automatically when you preform a certain action. The automatic ones are:
- Event Invites
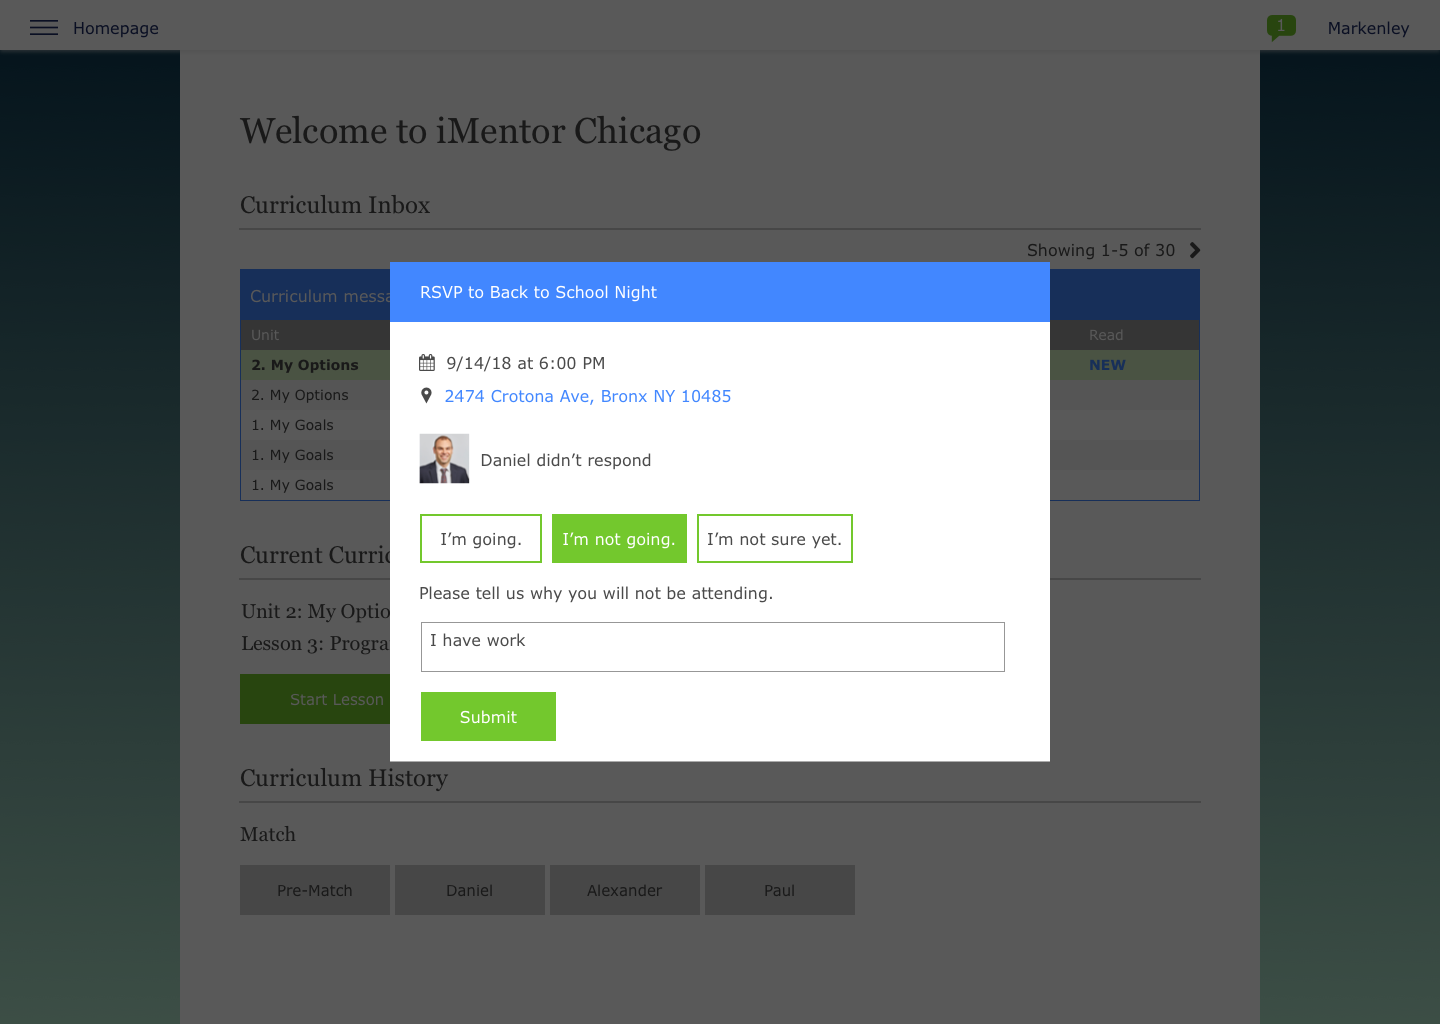
- Collecting RSVPs to events is an important part in the event planning process. The RSVP Task is automatically created once a pair is invited to an event. This puts the event in front of your mentors and mentees with all the critical information: event date and time, a location with a clickable link that opens a new tab in Google Maps allowing the user to get directions, and whether the counter-party is planning on attending. Users can click the “I’m going.” button to RSVP Yes, the “I’m not going.” button to RSVP no, or the “I’m not sure yet.” button that will show the Task the next time the page is loaded.
- If "I'm not going" is selected, users must add a comment explaining why they can't go.
- Surveys
- Mentor and mentee surveys that are distributed three times a year will show up as a Task on the Newsfeed. The Survey Task shows once a user is invited to a survey, comes with an estimation of how long it will take, and links to the survey through the “Take the survey” button. The Task will close once a user clicks on the button, but the user must complete the survey to ensure the Task does not show up in the future.
- Mentor and mentee surveys that are distributed three times a year will show up as a Task on the Newsfeed. The Survey Task shows once a user is invited to a survey, comes with an estimation of how long it will take, and links to the survey through the “Take the survey” button. The Task will close once a user clicks on the button, but the user must complete the survey to ensure the Task does not show up in the future.
- Pair Rater
- The Pair Rater Task asks mentors and mentees to relate their relationship on a scale of 0 to 10, where 0 is no relationship at all and 10 is the best possible relationship. For reference, the Pair Rater Task also shows the user what their last rating was. This task shows up automatically every month once a pair is matched.
- The Pair Rater Task asks mentors and mentees to relate their relationship on a scale of 0 to 10, where 0 is no relationship at all and 10 is the best possible relationship. For reference, the Pair Rater Task also shows the user what their last rating was. This task shows up automatically every month once a pair is matched.


Manual Tasks and Announcements
To create a new announcement, click on the blue "Schedule New Announcement" button: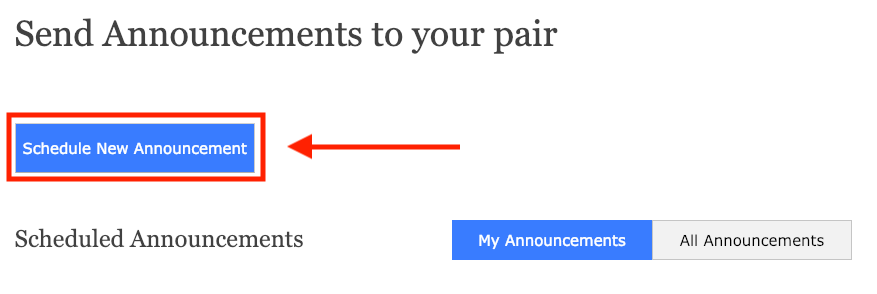
You will then be taken to the tasks and announcement creation page. On this page, you'll be asked to select which group you'd like to send this task/announcement to, the start and end dates (when the task/announcement will appear on user's Homepages), and finally which type of task/announcement it is.

4 Types of Manual Tasks/Announcements
There are four options to choose from here:
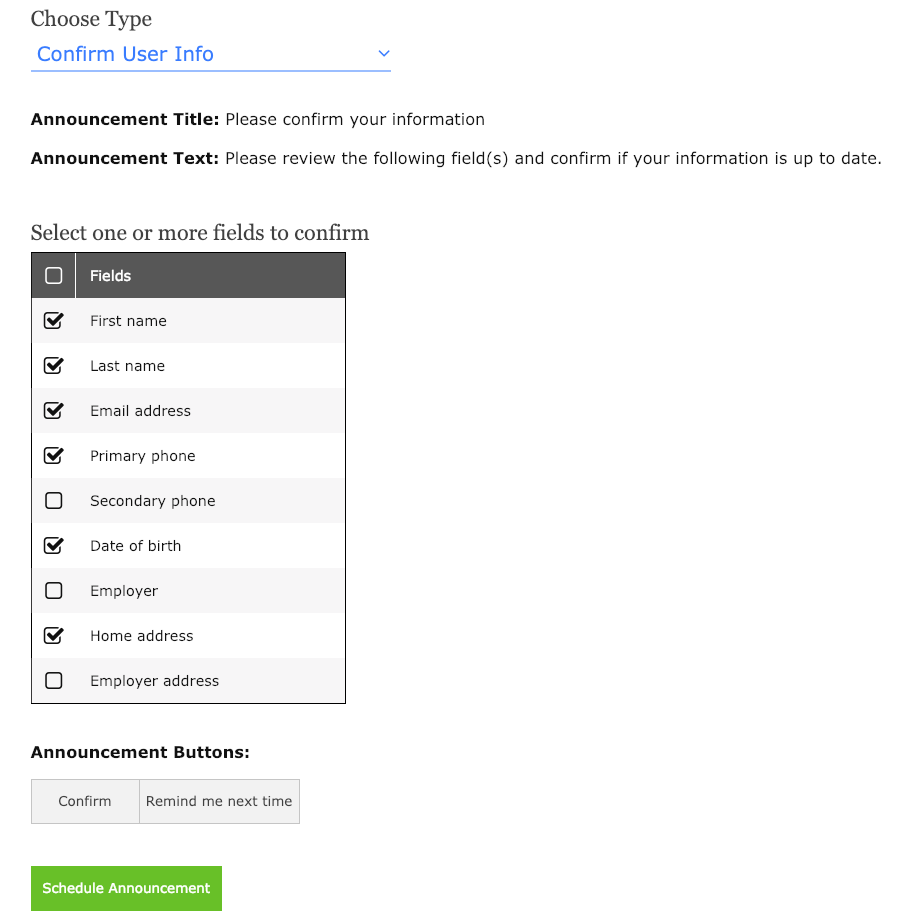
- Confirm User Info. This will be used to verify/update user's contact information. The Title, text, and announcement buttons cannot be edited. Staff have the option to include any of the following fields in the task:
- First name
- Last name
- Email address
- Primary Phone
- Secondary Phone
- Date of Birth
- Employer
- Home Address
- Employer Address
- Post-Secondary Pathway
- PSP Enrollment: A prompt for mentees and mentors to enroll in the PSP program and asking them which track they'd like to enroll in. Mentees choose if they'd like to enroll in the program, select the pathway, then click "Save." The pathways are:
- 2-year college
- 4-year college
- Certificate/Vocational Training
- Gap Year or Service Year ((ex. Year Up, City Year)
- Military
- Working / No plan to enroll in college
- Working / Planning to enroll in college
- Unsure/Unknown

3. Matriculation Task
This task is used to check up on the mentee's matriculation status and links to the PSP Process page:

4. Custom:
Staff have the option to create their own custom announcements. These can range from letting pairs know class is canceled, to sharing a link to a video with your pairs, to reminding mentors about an upcoming event.
After selecting "Custom" from the Type, a "Send Users a Push Notification on the iMentor App" option will appear. There are two options to choose from, Yes or No.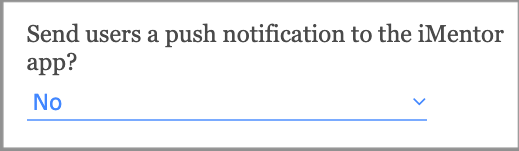
Selecting Yes means the user will receive a push notification on their phone when the task is live.
When choosing "Custom" staff have the ability to write their own title and text. The text box has all standard text-editing features, and staff can even embed photos and videos!

To insert media into the announcement, refer to this article: Inserting Media
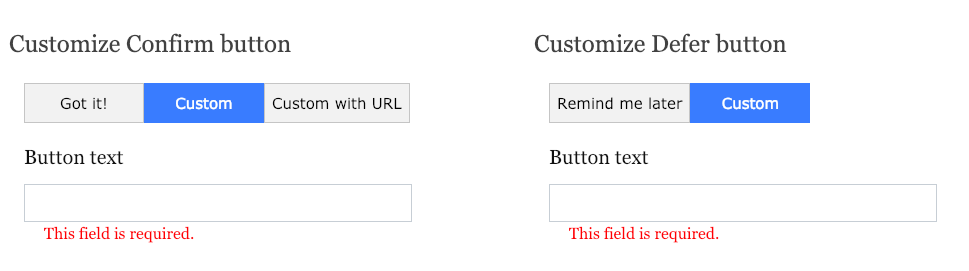
Below, staff will also be able to choose what the "confirm" and "defer" buttons should say. It can either be:
- The standard "Got it!"
- A custom button where staff chooses the text.
- A custom button that links to an external page or site.
 Deferring a pop-up will dismiss it for the time being, but it will appear again the next time the user navigates to the Homepage.
 Deferring a pop-up will dismiss it for the time being, but it will appear again the next time the user navigates to the Homepage.
Customizing Recipients
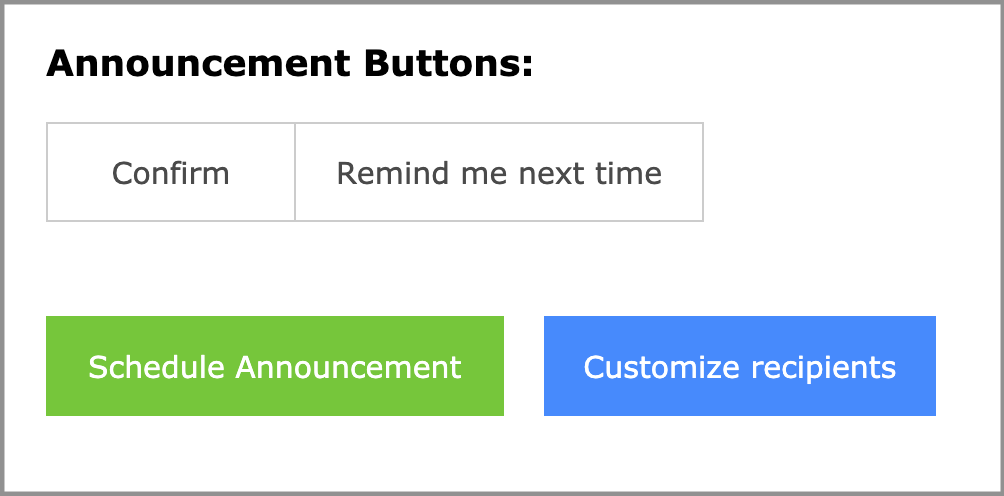
If you'd like the task/announcement to only go to specific users within a class, click on the "customize recipients" button at the bottom of the page.
On the next page, you'll be able to select which users receive the task/announcement. Check the box next to their name on the left to select them, then click "Schedule Announcement" to finish.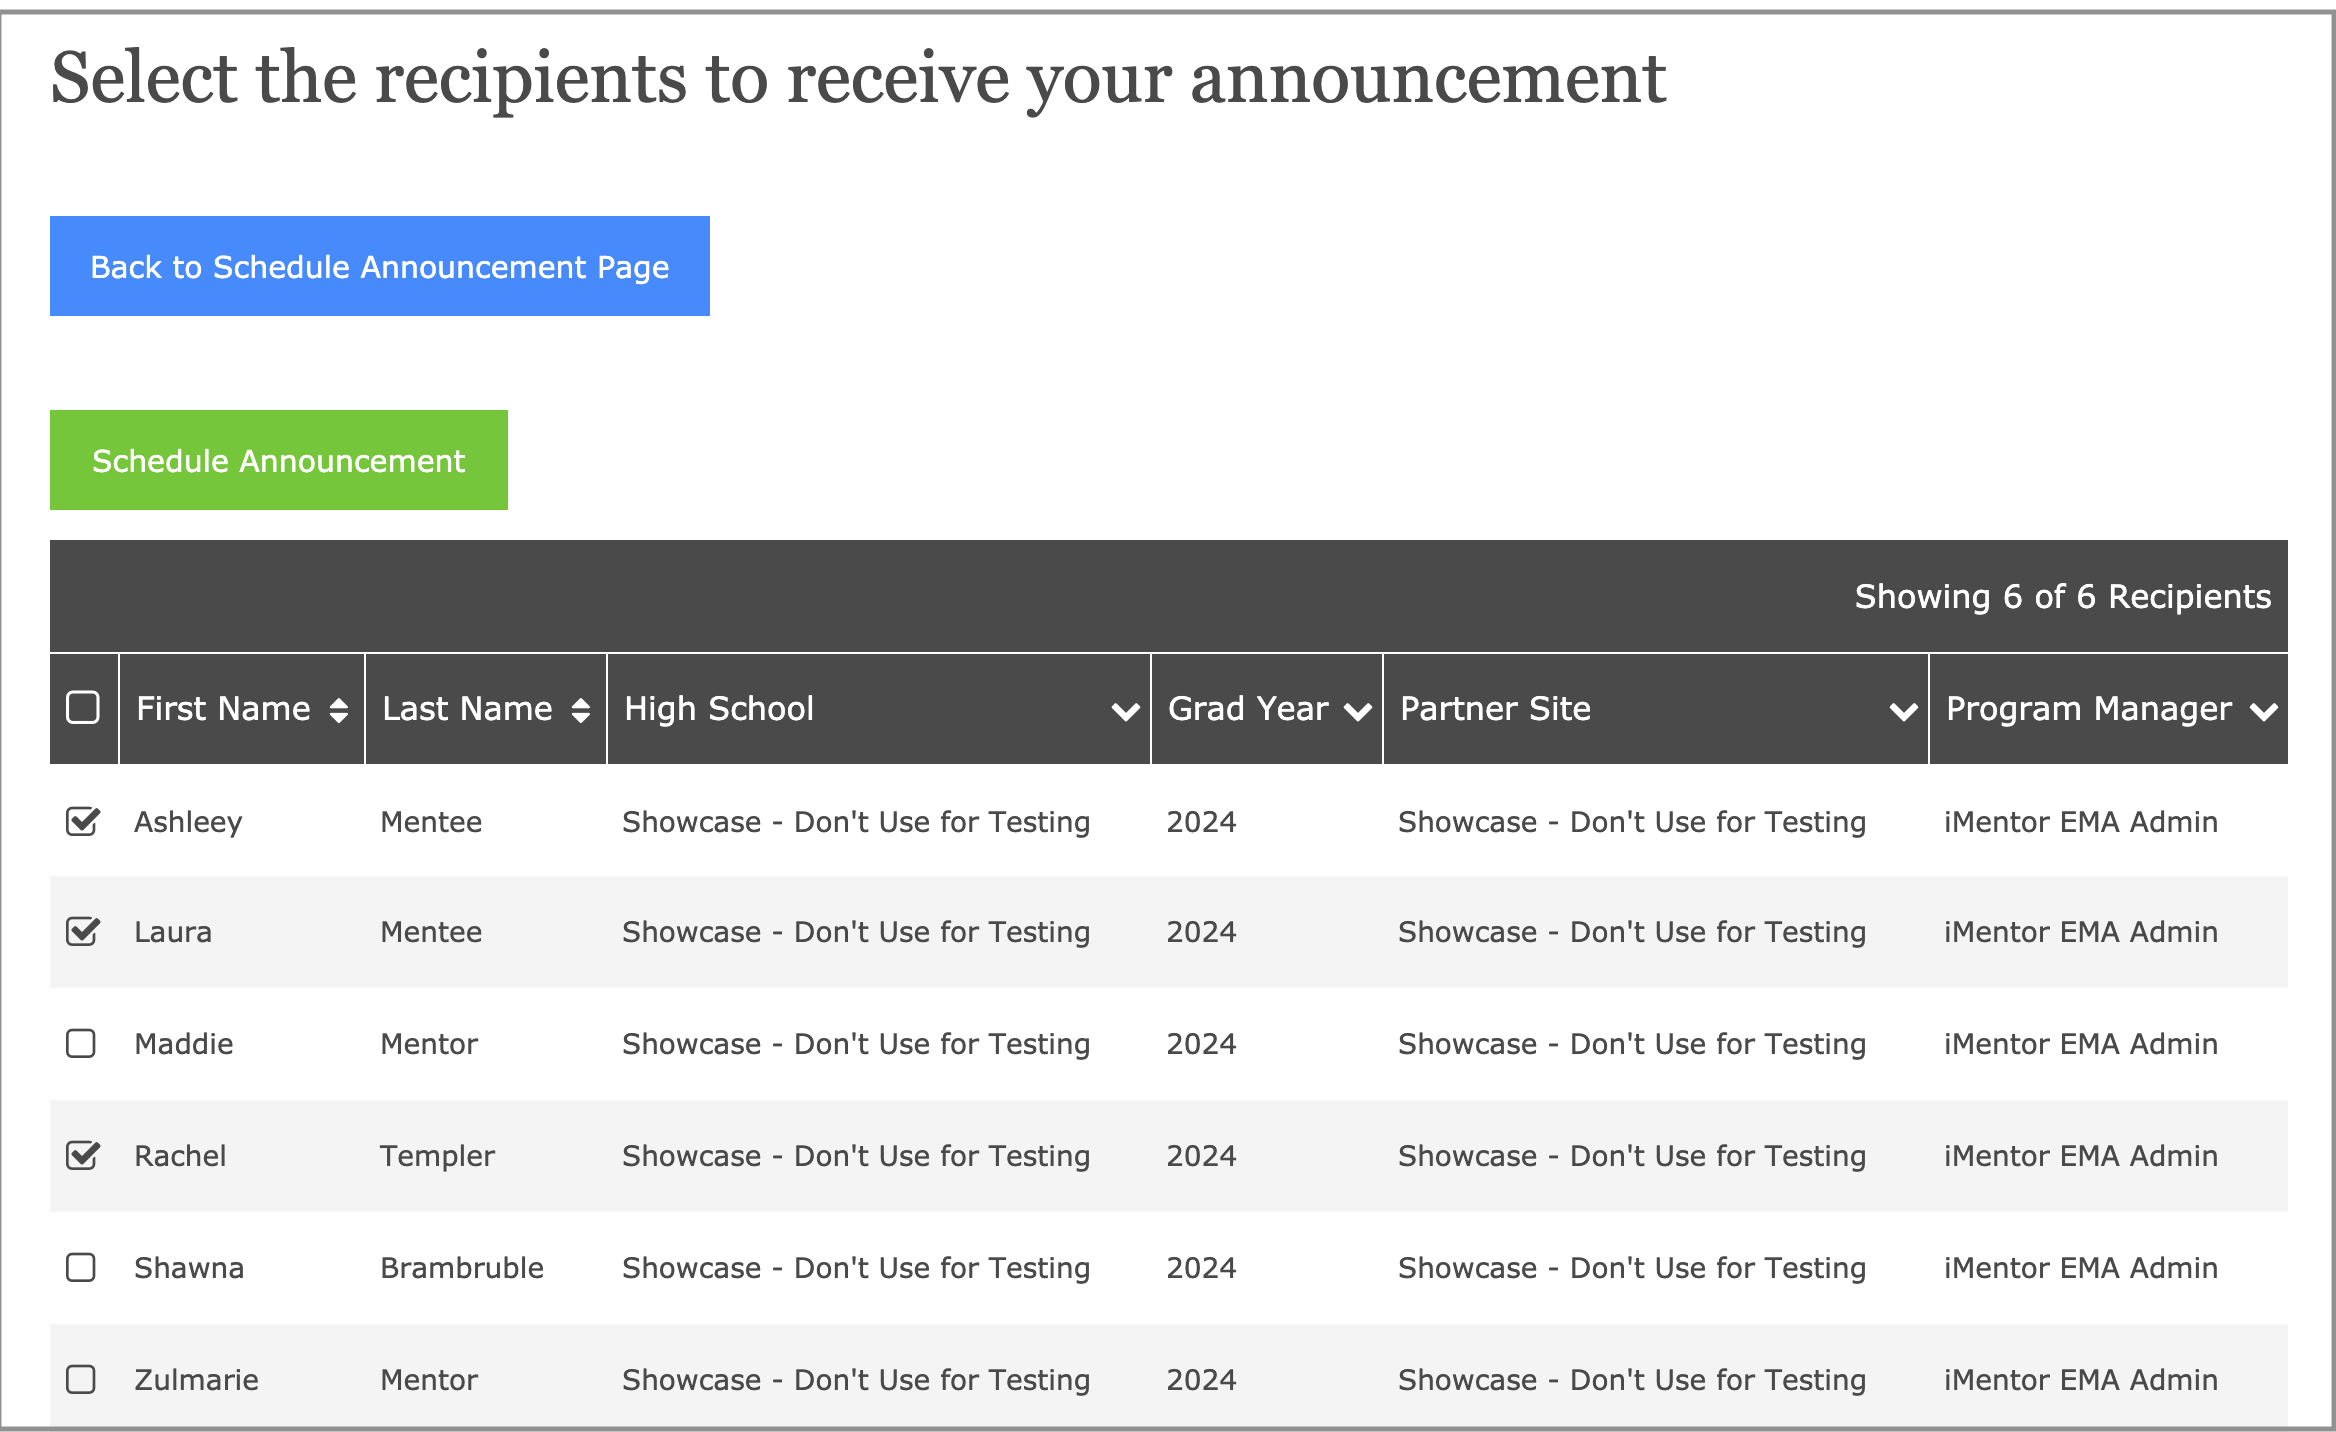
Once scheduled, a congrats message will appear. Click "Ok" to be brought back to the scheduled announcements table.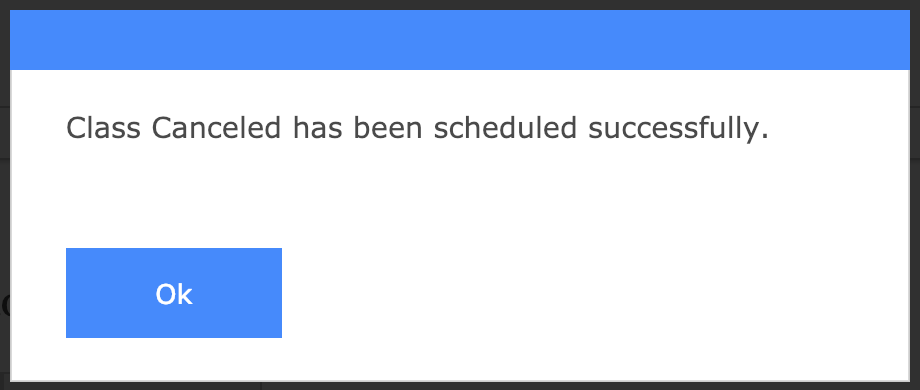
Scheduled Announcements Table
Once scheduled, announcements will appear in a table. Users can filter between all announcements that have been scheduled, or just announcements they have created themselves ("My Announcements").
In the table, users can view the Title, Start Date, and who the announcement was created by. Users can also edit the announcement by clicking on the button in the "View and manage" page. Here staff will have the options to edit or delete the task/announcement.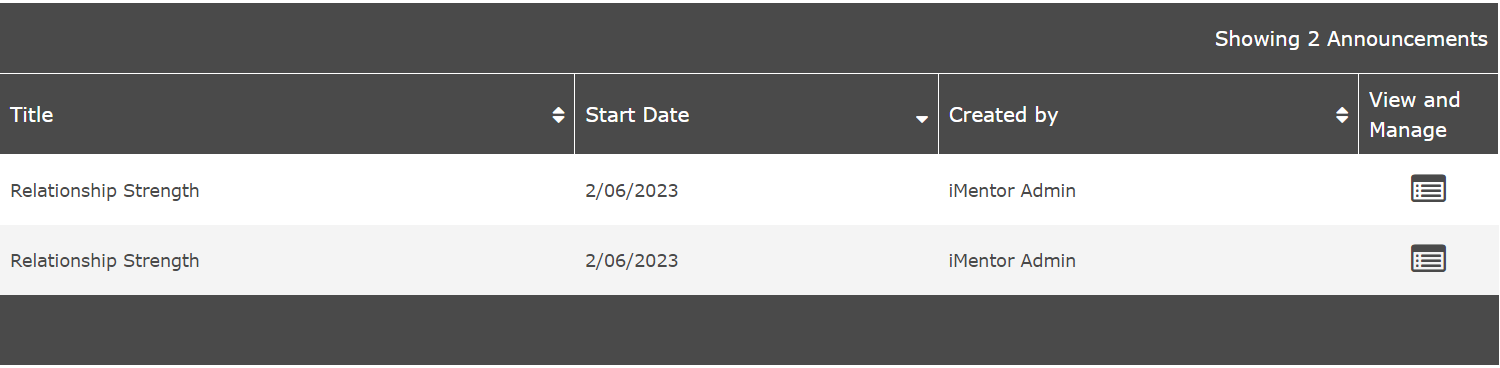
Clicking on the symbol in the "View and Manage" column will show a preview of the announcement. Users have the options to either edit or delete the announcement that they scheduled. Users cannot edit or delete announcements that another staff person has scheduled.
- NOTE: The group the announcement is assigned to cannot be edited - only the title, text, and confirm/defer button can be changed after an announcement is created. The editing box looks like this:
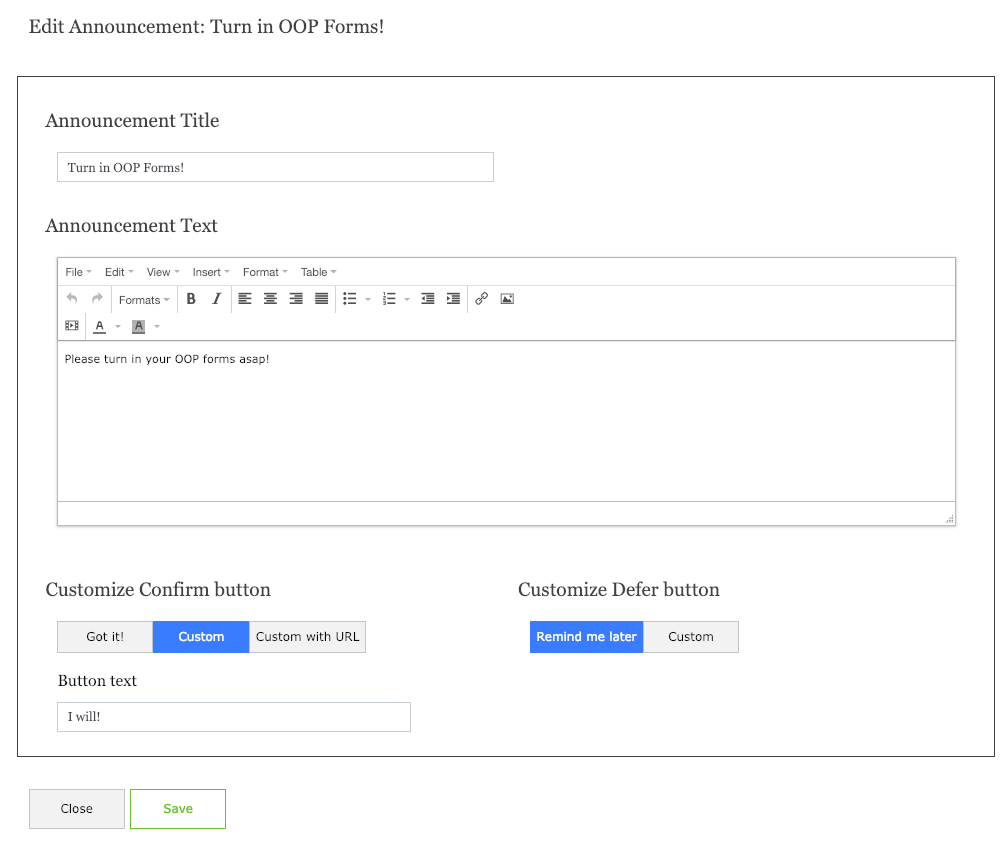

Once all changes have been made - click "Save."
Notes:
Staff in NYC, Chicago, Bay Area, and Baltimore should consult the Usage Guidelines document before scheduling an announcement/creating a group.
Questions?
If you have any questions/comments, please reach out to [email protected] - we're happy to help!