Background
Sometimes you'll want to edit a Lesson to better fit your school location, culture, etc. This is possible through local curriculum management. However, only specific team members can make these changes, and must request permission from their manager and the platform team before doing so.
You can either edit an existing national Lesson by creating a local version of it:
Or, you can create a brand new Lesson from scratch:
Add and Edit Local Lessons:
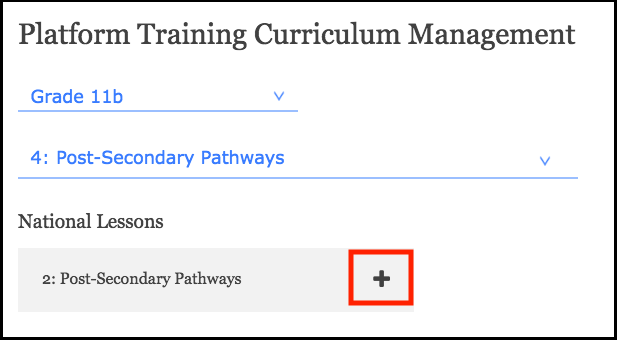
From the hamburger menu, find the tab titled, "Local Curriculum Management." Once clicked, it will ask you to select your grade and unit. After selecting the unit, the national curriculum lesson will appear on the left, and - if there is one - the local curriculum lesson will appear on the right.
To add a local version of a lesson, click the + button:
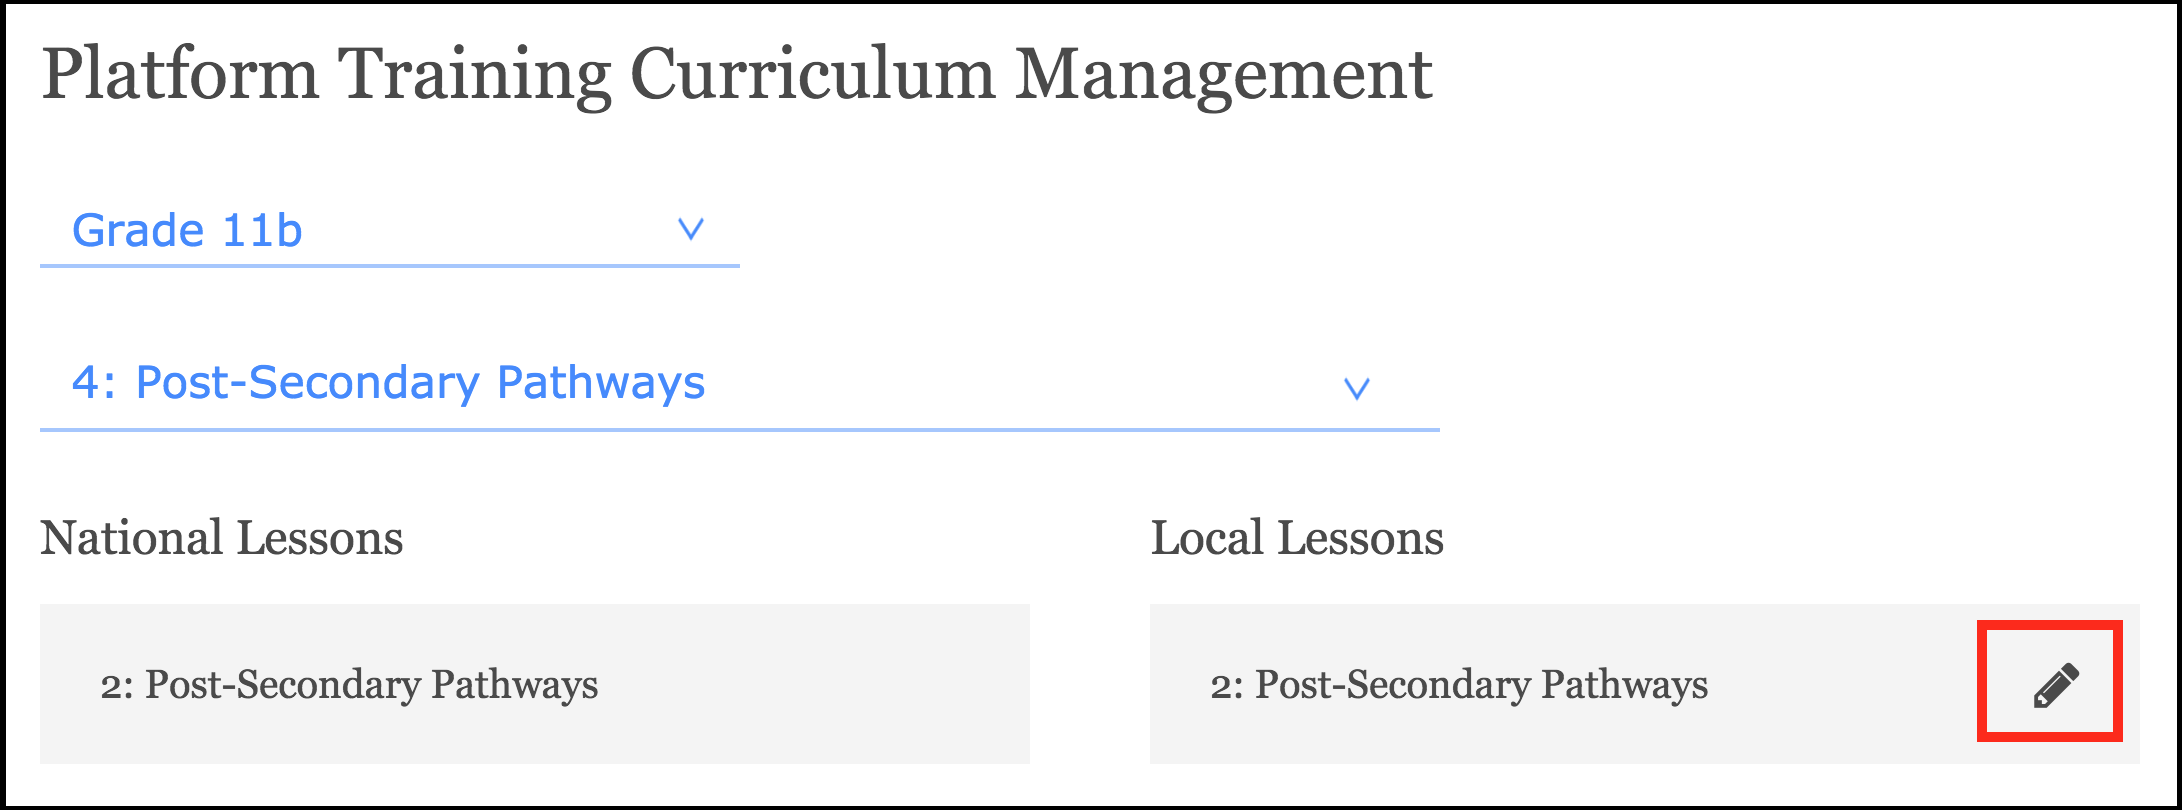
 The local lesson will then appear to the right of the national lesson. On the local lesson, there will be a pencil button which can be clicked on to make edits:After clicking the edit button, you'll be taken to the lesson. On the lesson will be the grade, unit title, unit number, unit overview, lesson title, and lesson number. This example would be 11b 4.2:
Scroll down, and you'll see the lesson content. This is the actual lesson that mentors/mentees will see:

To make edits to a section, click on the pencil icon to the left of the section name. When editing local curriculum, you are only able to edit the following sections:
- Prompt
- Google Doc
- Extras
Additionally, you will only be able to edit current sections, not add new ones.
Once in the editor, you'll have all the basic text-editing functions such as bolding, italicizing, etc. When finished editing, click the "Save" button to save your work and return to the lesson:
To edit a Google Doc within a lesson, simply click into the document and make the required edits, then click "Return to Local Curriculum Management."

To schedule a local lesson, select the lesson with "(local)" next to it in lesson management. To learn more about scheduling lessons, check out this article: Lesson Management.
Create New Lessons
Regions also have the ability to create their own Lessons. Under the "Local Lessons" section on the right, there will be an option to "Add Lesson"

Click the green button, then scroll down to create your Lesson. You can edit the Lesson title, number, if it's mentee-only, and then add different sections. The options are: 
Remember: If this is a Lesson for both mentees and mentors, you'll have to switch over to the Mentor Lesson and make edits there too. You can do this by clicking the "Switch the Mentor Lesson" button on the right:

Once everything is filled out, click "Save" and the Lesson will save. You'll now be able to schedule this Lesson on the Lesson Management page.

