Before scheduling a task or announcement, there needs to be a group to assign it to. A group defines which specific users the task or announcement will be sent to, for example:
- Mentees at ALHS 19
- All mentors who work at Goldman Sachs
- All mentees and mentors within a certain cohort
Much like saved searches in User Management, creating these groups will be extremely helpful and time-saving when communicating with pairs, allowing staff to easily send out updates and announcements.
To get to the Tasks and Announcements Group page: Open the hamburger menu, click on "Reports," then click "Announcement Groups":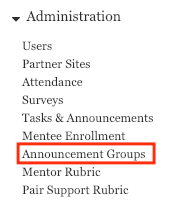
How to Create a Group
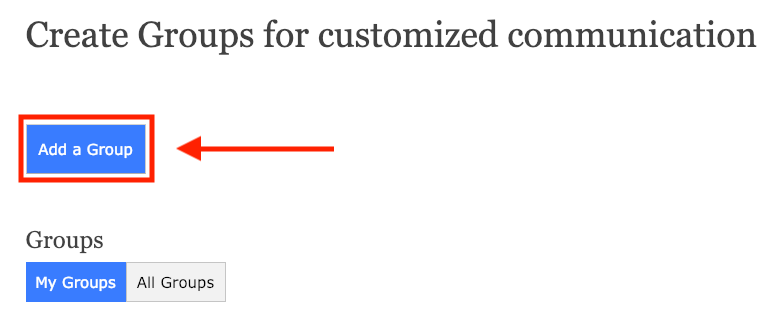
Click on "Add a Group" at the top of the page:
Naming the Group
This will bring you to the group creation page. First, create a name for the group. Make sure it's something that's easily identifiable, as there will be many groups to sort through. There are also specific naming guidelines that we ask all staff follow:
- Names must be applicable for multiple years of programming.
- Example: “Class of 2019 Mentees” is preferable to “Seniors”
- Names must be applicable to all users.
- Example: “AFSE 2018 Mentors” is preferable to “My mentors”
- Indicate which filters have been selected in a consistent order:
- School / Grade / Partner Site / Class / OOP / Employer / User Type. If a filter has not been selected, exclude from name. User Type is always included at the end. Write “Pairs” if both.
- Examples:
- Class of 2019 Pairs
- Class of 2019 Mentors
- AFSE 2019 Mentors
- AFSE 2019 Class 1, 2, 3 Pairs
- Class of 2019 OOP Approved Pairs
- Morgan Stanley Mentors
- Examples:
- School / Grade / Partner Site / Class / OOP / Employer / User Type. If a filter has not been selected, exclude from name. User Type is always included at the end. Write “Pairs” if both.
Filters
Next, select what you'd like to filter for. The options are:
- 12th Grade Intended Pathway
- College Planning List
- Employer
- Graduation Year
- Match Status
- Pair Expedition Approved
- Pair Expedition Consent
- Partner Site
- PM Name
- Post-Secondary Choice Made
- Post-Secondary program
- Program Consent Form
- PSP PM
- School
- User Type
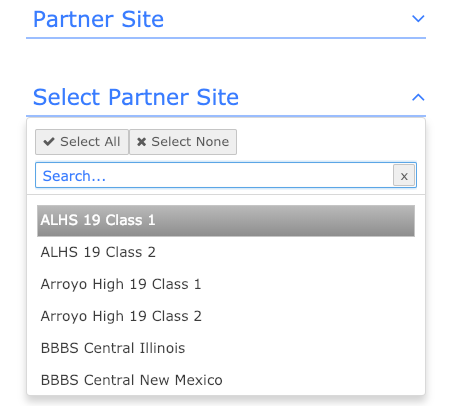
Let's say we selected "Partner Site." The next step would be to select which partner site(s) (you can choose more than one!) will be included in the group:
Another common filter is User Type. The options are either Mentees or Mentors: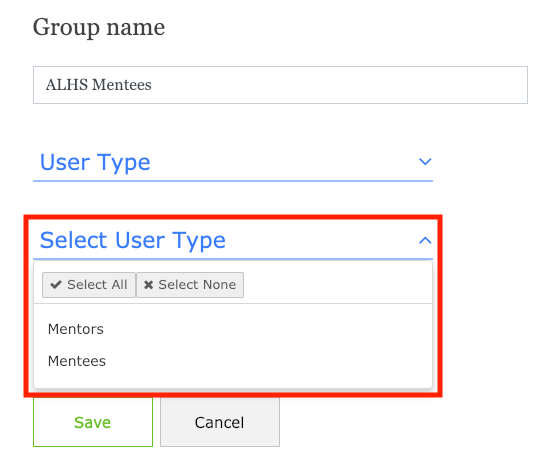
As filters are added, they'll show up on the right-hand side of the page. Delete a filter by clicking on the trashcan icon. Once finished, click "Save."
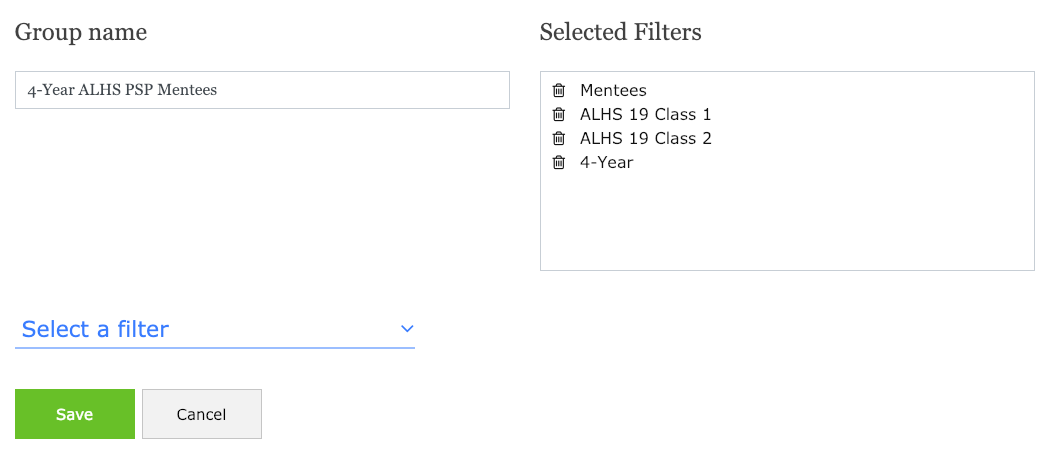
This example group is for all Mentees in ALHS 19 Classes 1 and 2 who have selected the 4-Year PSP model. When selecting this group, only users who meet this exact criteria will be notified of the task or announcement.
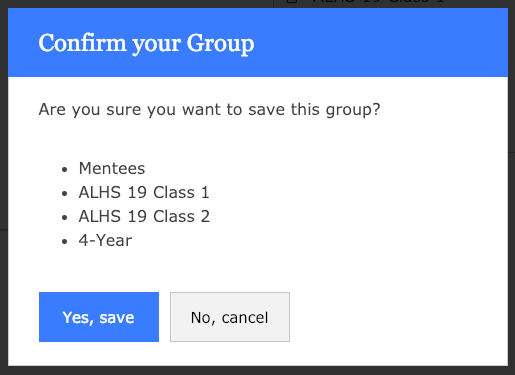
Click "Save" and a confirmation will pop up asking to confirm the selections. If everything looks good, go ahead and press "Yes, Save."
Once saved, the group will now appear in "My Groups." Let's revisit the first screenshot in this article:
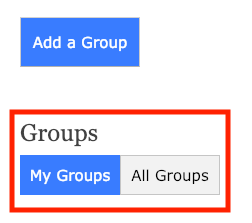
Underneath "Add a Group" users have the option to either view only groups they've created, aka "My Groups" or any group anyone at their member site has created, aka "All Groups." The results will populate below in a table: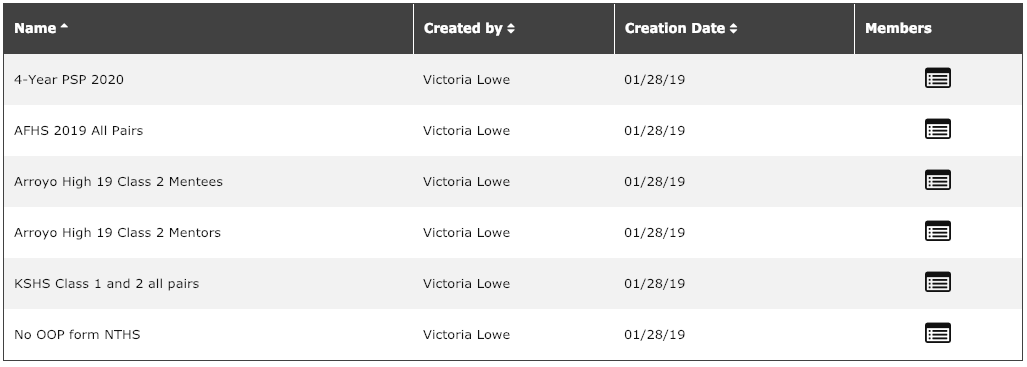
On this table you can view the following:
- Name of group
- Who it was created by
- When it was created
- Which filters are applied to the group and who specifically is in it (Members)
This table can be sorted by clicking the arrows next to each column heading. Clicking on the symbol under "Members" will bring you to a group preview:
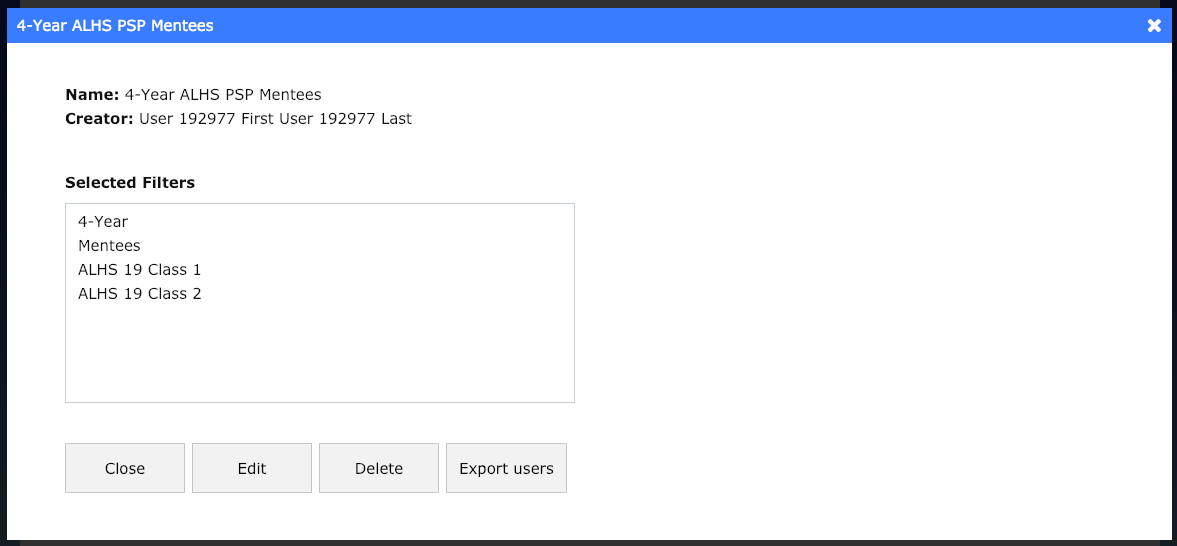
In this preview, admins have the option to:
- Edit the filters or the group name, if they created the group
- Delete the group, if they created the group
- Export a list of all users within the group (to an Excel file)
Notes:
Staff in NYC, Chicago, Bay Area, and Baltimore should consult the Usage Guidelines document before scheduling an announcement/creating a group.
Questions?
Now that you know the basics of Groups, feel free to go explore and create a few test groups! If you have any questions/comments, please reach out to [email protected] - we're happy to help!