The iMentor Platform Team presents: The Top Ten must knows for any Program Manager during Site Start Up
Site Start Up (SSU) is an exciting but busy and often hectic time of year for program coordinators. At this time, you will navigate your relationship with your school, (re)connect with your cohort(s) of mentees, and cope with the end of summer and the looming threat of first snow, or at least cooler weather.
This Top Ten List is designed to help you reconcile your knowledge with the platform and your impending quest for meeting benchmarks and developing pair relationships through candor. The links in this list lead to the appropriate Learning Center articles. As far as the platform is concerned, if you master this list, you will have a successful SSU season.
Keep in mind, this list does not include the Mentee Enrollment tool, which is practically where you as a PM will be living on the Platform during SSU. Read up on Mentee Enrollment here.
Number 10: Mentee Applications
Make sure you fill out a sample mentee application on platformtraining.imentor.org to familiarize yourself with the process. Mentee applications have three components to them: Contact Information, Evaluation, and Matching. Most of the questions are required, but the actual required questions will not be labeled. Encourage your students to fill out the entire application to the best of their knowledge.
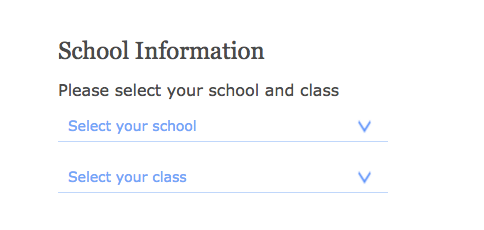
Pro-Tip: Write down on the board and say out loud ten times which school and class your students should be choosing at the bottom of the Contact Information page. To see what happens when students don’t select the proper school and class, see Number 3.
Number 9: User Management
This is your home base, bread, and butter on the iMentor platform, especially during the SSU season by going to Admin --> Users.
- Search by First, Last, or email
- Use the filters. Start at the top and work your way down.
Number 8: User Profiles
Every user who has at least begun an application will have a user profile. They can be searched and filtered for on the User Management page. The user profile will give you basic contact information about the user.
By clicking on the Application tab, you will be able to see that user's application.

Number 7: Profile Photos
Take photos of your students early! This will help you remember their names so much more quickly. To upload a profile picture, go to a user’s profile. Click on the edit button (the pencil icon), then click on the upload button on the photo.
Pro-Tip: Have them write their names on an index card with a marker and hold it up for the photo. You’ll be able to go through the photos like flash cards and won’t have any trouble matching the photo with the user profile.
Number 6: User Statuses
Every user on the platform will have one of six user statuses:
- Application Incomplete (AI): Users who have started an application but did not finish it. When these users sign in, they will be taken to the first unanswered question in their application.
- Screening Incomplete (SI): Users who have completed the application but are not yet ready to be matched. For mentees, this is likely because their consent form is not turned in or they are not emotionally ready to be matched with a mentor.
- Active: Users on the platform who are Ready to be Matched with a mentor or are Actively matched.
- Inactive Withdrawn (IW): Users who have at least begun an application who have withdrawn from the program. For mentees this means they have likely changed schools.
- Inactive Deleted (ID): Users who have multiple/mistake/test accounts.
- Inactive Rejected (IR): Used for mentors who have applied and have been rejected from participating in our program.
Number 5: Partner Sites
Know your partner sites! And know which students should be in which partner sites! At the beginning of each semester, it’s likely that students will be shuffled from class to class. Make sure you are transferring pairs between partner sites as necessary. To do this, navigate to a student’s profile page, click the partner site dropdown, select the proper partner site, and click OK. If you don’t click OK, the change won’t save. OK?
Number 4: Surveys
In the latest pull from the Research and Evaluation team, polling 144 responses, the Fall 2015 Mentee Pre survey takes an average of 23 minutes to complete. Invite and monitor mentee/mentor completion rates by going to Admin > Surveys – New, selecting the Mentee/Mentor survey, and filtering for your partner sites.
Number 3: Lost Students
Guess what happens when your mentees don’t select the proper school and class on their application? They get lost and wind up in someone else’s partner site. What now?
One of two scenarios plays out:
- “Hey you didn’t complete your application.” “Yes I did.” “Well I can’t find you on the platform. Prove it. Sign into your account.” **Student signs in successfully** “Oh, I guess you did. WHERE AREEE YOUUU THOOOOO?”
- In an email to all the PMs: “Hi friends, I found this student in my partner site and she doesn’t go to my school. The link to her profile is here (inserts link)." Does anyone know her???
Number 2: Saved Searches
Please please please use the Saved Searches feature whenever you can. Here’s a good list of saved searches to start off with in User Management:
- ALL Mentees
- ALL Mentors
- Mentees in Class 1
- Mentees in Class 2
- Mentees in Class 3
If you are responsible for multiple cohorts, it may be best to have saved searches with both combining and splitting these users. By separating mentees out by class, you can pull up their list before heading into class just in case one (or ten) of them lose their passwords.
Which brings us to…
Number 1: Resetting Passwords
Somewhere in the two dozens I lost count of how many times I heard a student shout, “Miss, I forgot my password” even well into April and May.
You have two options moving forward:
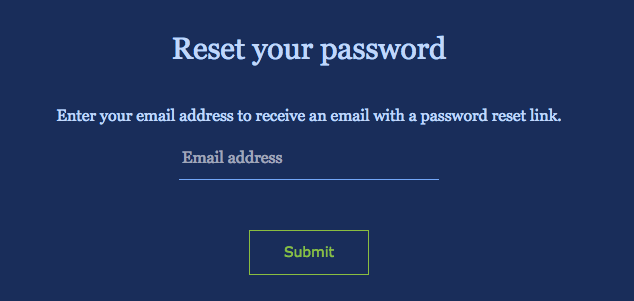
1. Have your student go to the Sign In page and request a password reset. This will require them to log into their email address to click a reset link.

2. Navigate to that user’s profile and click the Reset Password link underneath their photo. Change their password (or allow them to type it in themselves), and voila. Platform Access Granted.
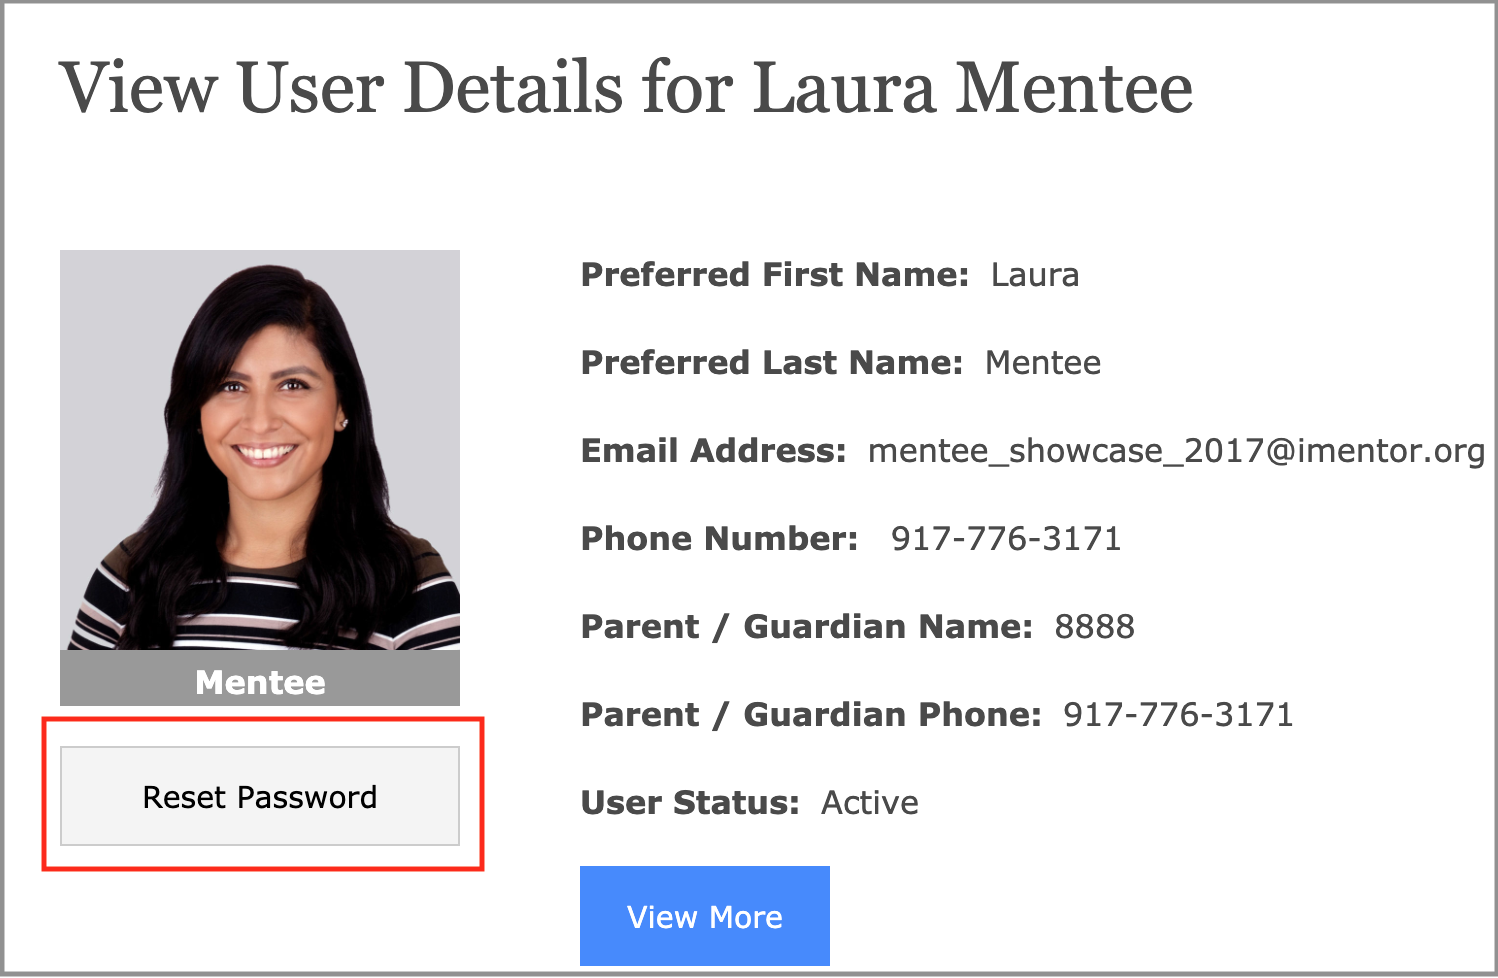
Also, notice that ninth grader holding her name card in the photo for you to easily upload her photo to the platform.
Pro-Tip: Have all of your students use the same password convention. For example: their student ID number, “Everyone’s password is imentor,” or “Your mom’s first name and your favorite fruit.” The downside to the first two is that everyone else can access their platform accounts if they're sneaky.
That should do it! Now you’re all set to tackle this new school year with tranquility and gusto. And as always: questions, concerns, and support issues go to [email protected].